Fashion Tips for $10 or Less!

Real things for people who don't have the money for high style but the passion for fashion.
Showing posts with label Inexpensive. Show all posts

Thursday, January 27, 2011

Dollar Store Fashion: Lace Doily Shoulder Covers

Have a thin strap dress that you want to make look a little more modest? Why not try this solution, its inexpensive and looks great.

What you Need:
  • Lace Doily 
    • I bought this one at the dollar store. You only need one.
  • Scissors
  • Small Safety pins -or- hand-sewing needle and thread
How to Do it:
  1. Simply cut the doily in half.
  2. Wrap the straight edge of the doily half you just cut, around the thin strap of the dress
  3. Use the safety pins or had sewing needle to secure the lace will stay in place. Be sure to pin on the inside so it doesn't show on the outside.
That's all there is to it! Love it? Hate it? Let me know!

Tuesday, January 25, 2011

Dollar Store Fashion: Mexican Bath Mat Bag

Another of my great dollar store ideas. This one is super easy and quick, and it only cost $1!


What you need:

  • Bath Mat (I love this one. It has amazing colors)
  • Sewing machine -or- hand-sewing needle with thread -or- even hot glue(for those of you who don't have any sewing experience)
  • Something to use for a strap(I used a strap from an existing bag that has little latches, so the straps are detachable, a thin belt would also work)

How to Do it:

  1. Simply fold the bat mat in half length wise with the sides you want to show on the outside facing each other.
  2. Sew up the two sides( or glue), with the fold on the bottom. Be sure to back stitch if you are using a machine. Leave about 1/2" to 1" extra past the line you sew so it doesn't come undone.
  3. Attach the strap. Be sure to make sure the strap is sewn securely. Re-inforece the straps with multiple sewn lines so it doesn't come undone. 
  4. Test it out. Put a few heavy books in it and jump around with it. See if the strap is sewn securely enough. The last thing you want is to be walking down the street and your bag breaks.

Sunday, January 23, 2011

Spray Paint Shoes

Have shoes that you don't really like the color of? Or perhaps they're a little worn out? Well why not bring a little life to them with some spray paint! Its inexpensive (only about $3.50 per color, and one can will do about 6-8 pairs) and looks amazing!


Here's a photo of a pair of boots I refurbished with a little spray paint! What do you think?

 What you need:

  • Pair of shoes 
    • Pretty much any type of fabric with work, including leather, which I will later explain how to deal with. Spray paints works very well on canvas. Suede will usually not hold the color real well and will turn out a little darker than expected, but it can still be done.
  • Spray Paint
    • I purchased mine at Home Depot for about $3.50 per color. There are a variety of different finishes the paint can have. Matte finish will give no shine, while any type of gloss will give you a shine.
    • Warning: In most states, kids under 17 or 18 can not buy spray paint, so you may need an adult to purchase it for you. I know I bought spray paint at Wal-Mart when I was 17.
  • Sand Paper
    • Only if you are working with a leather or vinyl shoe
  • Masking Tape
    • Preferably blue or green painters tape
    • I bought a roll for only a $1 at the dollar store
  • Plastic bags or trash bags
How To Do It:


Here's what they looked like before.


  1. If you have a leather or fake leather shoe, use the sand paper to rub down the finish on the shoes. This will allow the spray paint to better adhere to the surface and prevent rubbing off of the color.
  2. Use masking tape and plastic bags to prevent areas from being painted. Use a plastic bag on the inside of the shoe so the inside doesn't get painted. Otherwise, the paint will rub off on your foot. Any areas that you don't want to paint should be covered.  I would recommend masking off the rubber bottom of the shoe also. If you want to get a little more crazy, try making stripes with the tape or different designs. Make sure to tape off any lace holes, so paint doesn't go through them.
  3. Lightly coat the shoes with the paint. For those of you who have never spray painted before, you want to do it outside, or in a well ventilated area. Stand about 3 feet back from the shoes. Press gradually down on the trigger until you get a steady mist of paint. Make small back and forth motions as you go QUICKLY around the shoe. Don't stay in one area for a long time, otherwise it will cause dripping.
  4. Wait to dry. If you want to do multiple colors like how mine I did black and silver, wait for one color to dry before adding the second color. For mine, I only did a light coat of silver in different areas for more of a faded effect.
  5. Remove masking tape.
  6. Wait a couple days for paint to set. Do not wear them right away, the paint smells terrible for a couple days, but if you leave them in a well ventilated area, the smell will leave in a couple days.


Saturday, January 22, 2011

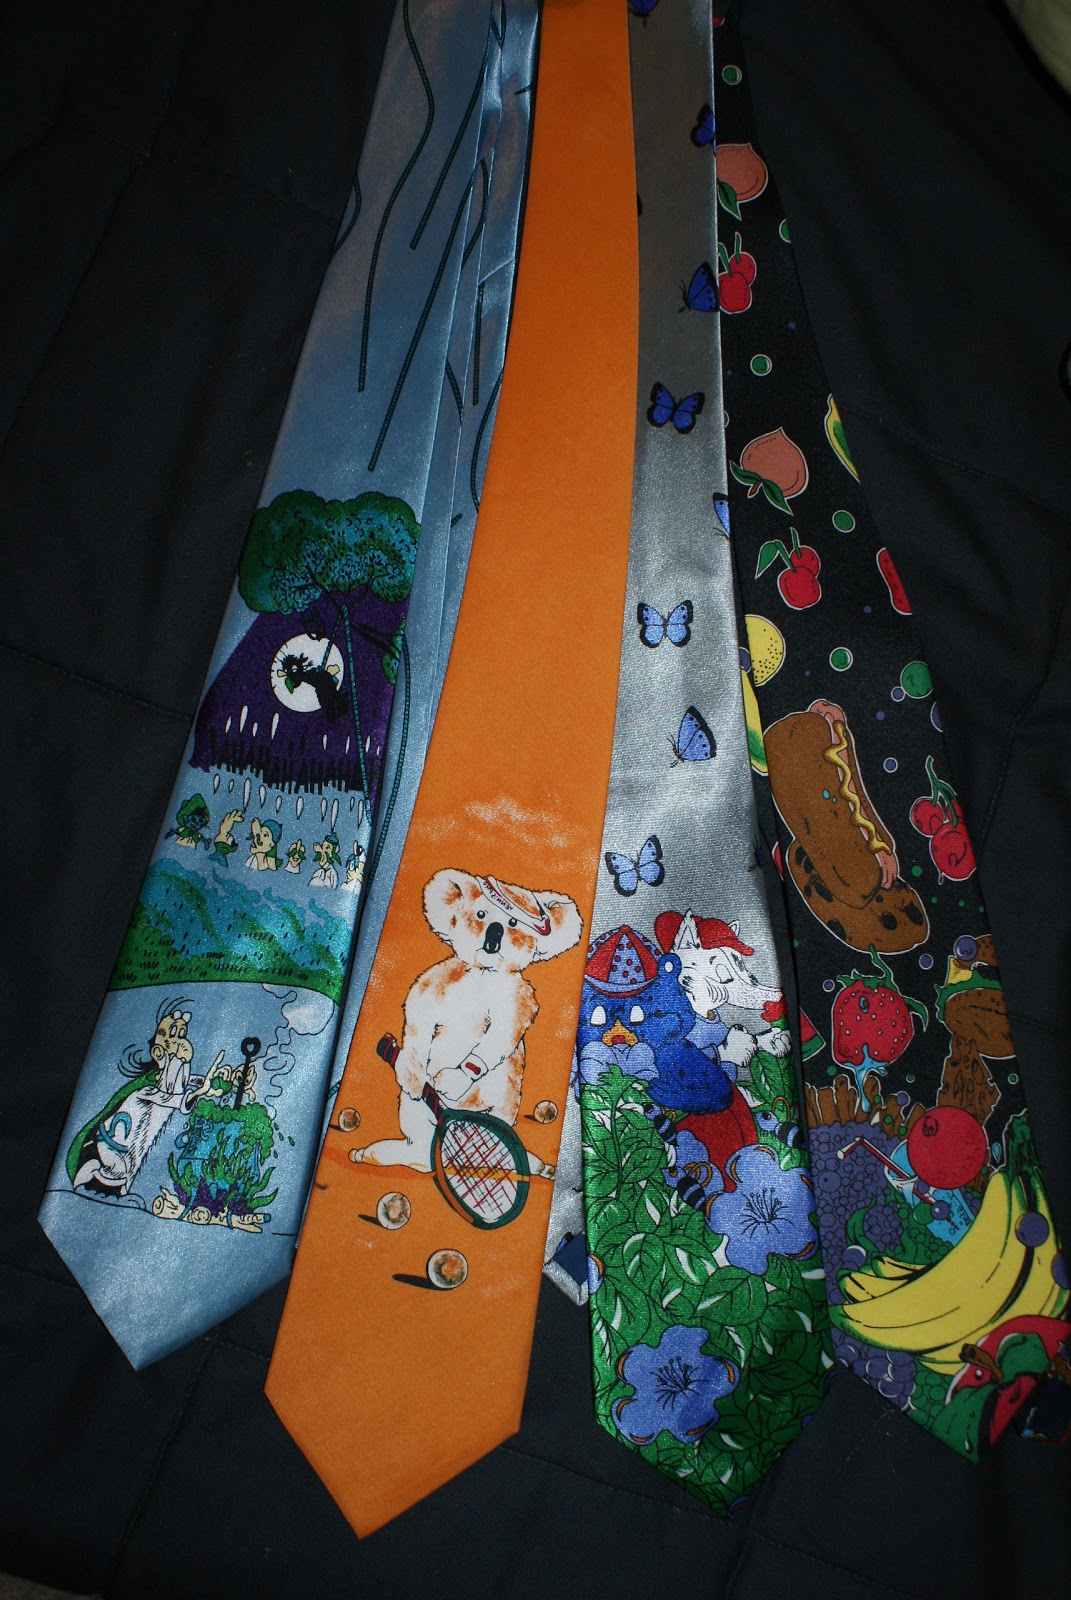
Dollar Store Fashion: $1 Ties

Just a quick little post of some crazy cool ties I found at the dollar store for only $1.00 each. 
Take a gander!

Love them? Hate them? Let me know what you think!

Dollar Store Fashion: Do-it-Yourself $3 Lace Dress!

So recently I've taken a little trip to the dollar store for some poor and creative inspiration. Let me tell you, I bought A LOT. Approximately $35 worth of stuff (granted everything was only $1.00).... So there will be a lot of crazy cool project coming up! 

First in my dollar store fashion project series is this cute little lace dress. It's relatively simple to do, but it does require BASIC sewing skills. Meaning you can either sew with a hand sewing needle, or you can sew a straight line on a sewing machine. I'll give you some quick sewing tips for you beginners who want some help along the way if you'd like to learn.


What you need:
  • XL-XXXL Cotton Knit T-shirt (bought for $2 at Walgreens)
  • Lace Doilies (bought a pair for $1 at the dollar store)
  • Scissors
  • Sewing Machine or a hand sewing needle and thread
  • Measuring Tape
  • A tank top for reference.

How to do it:

     
  1. Cut sleeves and straight across under the collar. 
  2. Measure the length of the top of you chest above your bust.
  3. Cut the top the length of your chest. Be sure to cut equal amounts off from each side. Then gradually cut from the top to the side seam on an angle, until it blends with the side seam. 
  4. Sew up the side seams. Meaning, where the arm holes use to be, you'll sew up.
  5. Create the lace tank top front. To do so, take a tank top and lay it down flat. Lay the lace centered over neckline of the tank top. Cut out the shape to match the tank top neckline shape. The bottom of the lace section should end a little past your bust, you'll need a little extra in order to sew it to the shirt.
  6. Attach the lace to the shirt. How you do that, you'll simply just need to sew a straight line across. The correct way to sew it so it looks good from the outside, is to sew "right sides together". Meaning which ever side you want to show from the outside, put them facing together. Then when sewing on your machine or with a hand sewing needle, leave about a 1/2" extra fabric from the line you sew. Make sure to backstitch your ends so it remains sewn.
  7. Create the tank top back. In order to that, think about the shape you want to create. Draw it out if you'd like. Cut out the shape from the lace you'd like to create by folding it half length wise. Lay down the front of of dress with the back on top of it so you can match up where the straps on the front and back match. If you want the lace to dip down into the shirt like on mine, you'll need to cut out the shape in the shirt.
  8. Sew the back lace to the shirt. Same way as the front.
  9. Sew the front and back straps together. Make sure you sew it so the stitching doesn't show on the outside. Once again, make sure when you sew, right sides are together.


That's all there is to it! (I know it is a little more steps than my usual projects, but I thought I'd up the skill level a bit)


Try it out! Tell me how it goes. Send me a pic! Leave a comment if you have any questions and I'll try to help. Do you like it? Hate it? Let me know!

Sunday, January 16, 2011

"I Bet You Can Find It Cheaper..."

So here's the deal. My friend Ellen Opacich were talking over break about how people spend too much money on clothes they can find at much cheaper prices. What it really comes down to knowing when something is really worth the cost. Before you purchase something, ask yourself the question "Can you find it cheaper?" In a lot of cases, "YES, of course you can!" should be the answer.

Here's an interesting comparison Ellen found (thanks for the great pics Ellen!):

The sweater on the right is from Urban Outfitters with a retail value of $50-$80. Ellen's sweater on the left cost under $10 at a thrift store. Scary likeness, right?!

The thing you must really understand is knowing how to achieve the LOOK you want. As much as I want to look like I wear designer clothing all the time, I know that it is simply not an option. So I find pieces that create the feel as designer clothes. 

How You Can Find The Look for Less
1. My suggestion on how to begin to start saving money is to first pretend that you have no budget. Search online or in stores for the clothes you absolutely want, no matter what the cost. Keep a going list of all those items. 

2. Next, give a title to each of those dream pieces. For example, let's say you see a pair of expensive sunglasses you like. Give them a description such as "oversize, round, amber faded sunglasses".

3. Last, find those items based of the description you have. Start by researching online. Type in the description you gave to the item. Search multiple store catalogues online. Or, go straight to the thrift store or stores you can afford. Look specifically for those items you wanted. Most of the time, it will be easy to find something eerily similar to a designer look for a whole lot less money.

Have you ever had some great finds you've found for a whole lot less??? Let me know! Send me a picture! Or tell me a quick story below!

Saturday, December 11, 2010

What To Do With Torn Clothes

Do you have shirts or pants with rips or holes in it? Well here's an easy solution: Rip it more! This look was inspired by my roommate Jessica (also a fashion design major at FIDM) who had a pair of leggings and a shirt will holes in it and ripped it up more to make an exciting new look.


The best way to rip your clothes to make it look intentional and fashionable is to rip it in areas. Do not over  rip up a piece of clothing, it will look like your dog tried to eat it. As shown in Jess's shirt, she decided to make small holes near the hem and at the shoulder.


I love how she paired it with the combat boots, makes it look casual, cool, and trendy.

Another way to wear this look is to layer things under the holes. Try wearing lace tights under holy jeans or leggings. Or wear a patterned shirt under a hole-y shirt. The possibilities are endless!

Friday, December 10, 2010

My Top 10 Under Ten Dollar Thrift Store Finds


#10 Armani Exchange Hoodie
For all you label whores, this went for a retail value of $115.00. I got it for $5.00. The reason for number ten is that I'm not all that into labels, but its cute and comfy.

#9 Vintage Plaid Dress Shirt
I love finding colorful patterned shirts. This shirt is a few sizes too big, but I kind of love how slouchy it looks. It makes a dress shirt look fun and casual.

#8 Turquoise Leather Purse 
Come on, how can anyone pass up a genuine leather purse? And its in one of my signature colors!

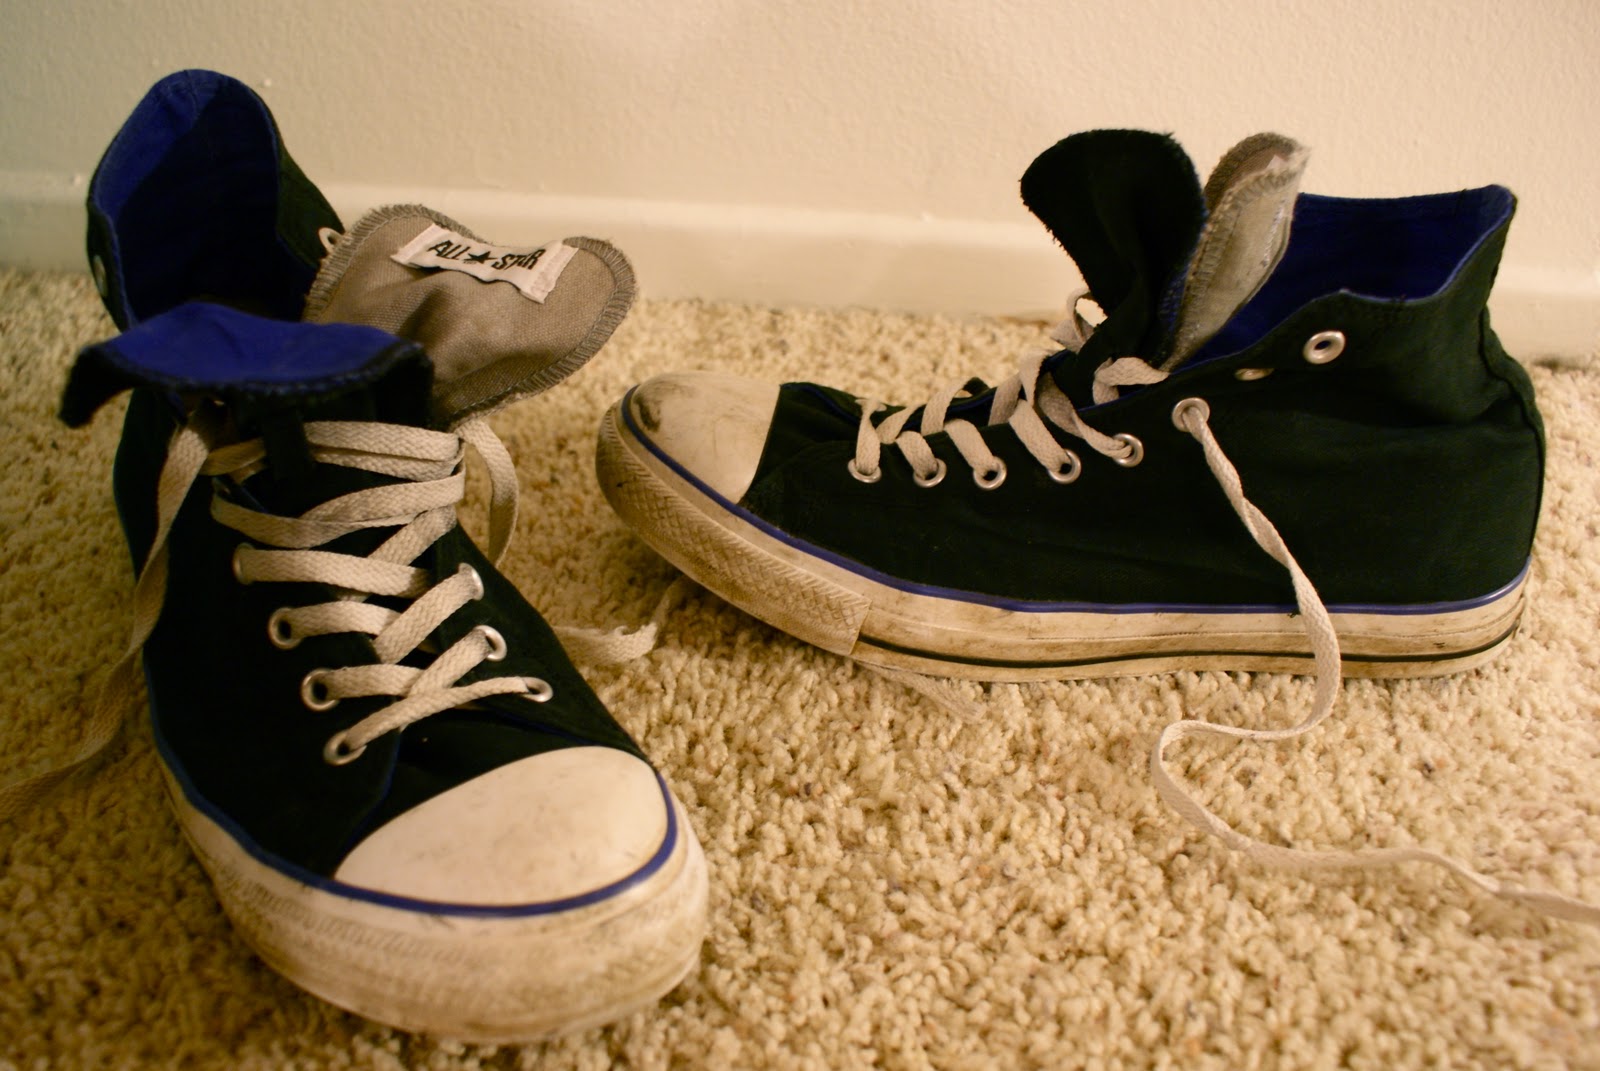
 #7 Brand new (at the time) indigo/gray double tounge high top Converse
In my size, never been worn before, in my favorite color. This was one of those times I knew I was destined to own something. AND only $6.00!


#6 Vintage Teal Cardigan Sweater
This was a great find. I wear this sweater all the time. It has great construction, looks good with everything. Definitely one of my go to pieces.

 #5 Vintage Swimsuit
I love this swimsuit, its definitely one of a kind, fits me like a glove. It also has this cute little change pocket detail on the side. You simply cannot find this quality for this cheap!
AND only $0.25!! Thats right, 25 CENTS!


 #4 Fitted Gray Blazer
This is another go-to piece piece of mine, it looks great with everything, fits great, and was only $5.00! Also, its a women's blazer, so all you guys out there, don't be afraid of the women's section!

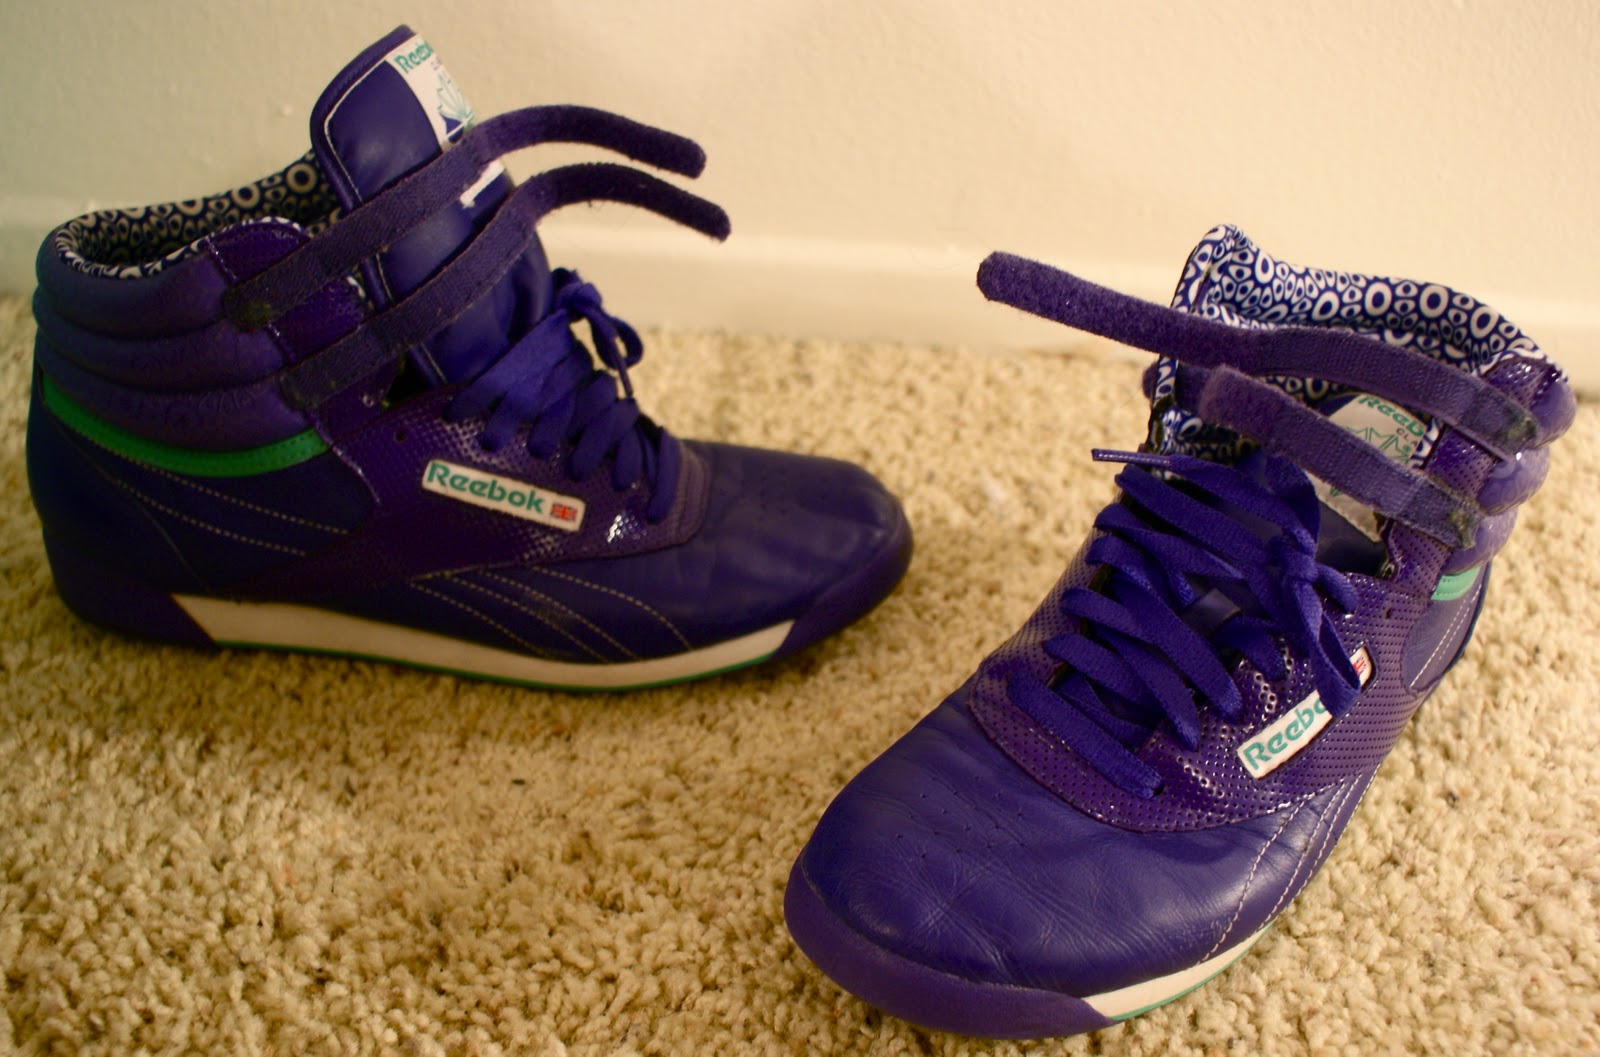
#3 Reebok's with the straps!
These are true reebok's with the straps from the 80's. So cute, they look cool and casual. And they were
practically brand new when I bought them!

#2 Graphic Ties
I couldn't pick just one, so I grabbed my two favorites. These are awesome ties. They may not go with every outfit but they are greatfor special occasions. They are great conversation starters!


#1Vintage Women's Military Jacket
Without a doubt the greatest find ever. This jacket fits me like a glove, and is true vintage. The construction is impeccable, and you simply cannot find a jacket made like this today. Every detail is something to be appreciated, even the lining and finishing details are amazing! I LOVE THIS JACKET.

Leave a comment on what types of things you find at thrift stores or send my a picture via email (blogforpoorcreativepeople@gmail.com) and I'll post it! 

Wednesday, December 8, 2010

Rorschach (Ink blot) Test T-shirt Design

Here's a really simple way to add a cool design to any t-shirt for little money. It's very easy to do, takes little time, and adds an exciting touch to any plain old thing.


This is the front panel of a hoodie I'm sewing for my class.


Here's what the t-shirt will look some what like when your done.


Look at all the possibilities!


What you need:
  • T-shirt (traditionally, its most effective with a white shirt, but I urge you to experiment!)
  • Plastic bags/newspaper
  • Fabric Paint ( I use Neo Opauqe by Jacquard, Do not try to use water colors or oil based paints, it'll be a disaster, use fabric safe paint)
  • Piece of Cardboard.
  • You can find fabric paint at any craft or fabric store. It usually comes
    in a tiny jar like this. For best results make sure the paint says "light
    body opaque acrylic". This little jar costs about $5, but it can make
    about four shirts.

How to do it:
Step 1: Place plastic bags or newspaper inside the t-shirt to keep the paint from bleeding through to the opposite side of the shirt.
Step 2: Lay out the t-shirt flat on a layer of plastic or newspapers.
Step 3: Fold the shirt in half, and crease the fold. When you open the shirt, you should have a faint fold line down the middle.

Step 4: Randomly put down paint on ONE side of the t-shirt. DO NOT cross the center line. I just dropped the paint straight from the bottle, it forms a more organic shape.
Step 5: CAREFULLY, fold your shirt back on the center line. Make sure that the shirt doesn't crease as you fold it back.
Step 6: Using the piece of cardboard, press firmly down on the folded shirt.
Step 7: Open the t-shirt! Your design should be reflected over the center line, showing two equal halves.
Step 8: Allow to dry, and wear it! Easy as that!

Just so you know, the way you spill the paint is how you change the pattern. Its difficult to have a defined shape, so just go for it and experiment!

Other ways to use this technique:

  • Pair of pants: Use the same technique, but on the leg of the pant.
  • A hoodie
  • Back of dress shirt: Try to make it look like angel wings
  • Try different paint colors together to make a tye dye effect
  • A bandana
The possibilities are endless! Every design is unique, so you could potentially have a whole wardrobe of completely different t-shirts!

What do you see? Leave a comment!


Wednesday, December 1, 2010

Paint Chip Necklace

Here's a project I've been brainstorming for quite some time. It's a necklace made of paint chips found at Home Depot (for FREE might I add).

What you need:

  • Paint Chips- These are the color swatches found in home supply stores, they're usually free and can be found at stores such as Home Depot, Walmart, or any paint store.
  • Scissors
  • Stapler 
  • Chain (or a chain necklace you already own)
How to make it:

  1. Cut your paint chips into whatever shape you want. In the necklace I created, I cut mine into 1 inch squares, but you could cut them into circles, diamonds, etc.
  2. Plan out the motif. Place the paint chips into different shapes and color patterns. You can create any shape with the paint chip. I used colors that went on the color wheel together for mine.
  3. Staple the motif together. Simply go piece by piece stapling the chips together. Make sure that each paint chip has TWO staple that attach to another piece, otherwise the staples with move and ruin the shape of the motif.
  4. Finally, pierce two holes at the top of the motif to attach the chain. Place the chain through the hole. I used a necklace I already had to attach it to. The ends of the necklaces had a clasp end, which attached to the paint chip.
Another idea would be to fold the paint chips which would create a 3-deminsional effect. Also, if you don't like the staples, you could glue the chips together from the back. Be creative and share you ideas in the comments! Also, send me a picture if you try this project out.

It's that simple!

Monday, November 22, 2010

A Guide To Thrift Store Shopping

Are you a first time thrift store shopper? Or do not find good things at thrift stores?
Well here's my "expert" advise on the ways of thrifting.


The Basics:

Have an imagination:
The number one problem I see with people who don't know how to handle thrift stores is creativity. Everyone tends to look at old clothing for face value. What I challenge you to do is look for colors you like first. When you find an interesting pattern or color (no matter how hideous the garment itself looks) take a moment and think through the possible uses for that garment. Remember, thrifting is inexpensive, there for it is more than OK to cut up, redesign, and experiment with clothing.

Take your time:
One thing I can not stand about inexperienced thrift store shoppers is rushing. Thrifting is about the thrill of the chase. Therefor you must TAKE YOUR TIME. Go through the clothing on the rack INDIVIDUALLY. I guarantee you that 98% of the things in the store will not work for you personally. People tend to generalize areas of the store, if they see a rack of dresses with a few really hideous dresses, they tend to skip the entire rack. Do NOT do that. Look through, and see each piece as a unique different item with different value and end purposes.

Bring an experienced friend with you:
Bringing someone who knows a thing or two about thrifting is majorly helpful. People who are good at thrift store shopping are people who normally do not look like they wear second hand clothing. People like that can help you see beyond the idea that its second hand, and can help you begin to build thrift store creative skills.

Look in unexpected sections:
Something that I like to do is to not only look in the men's small section of the store, I look EVERYWHERE. Look in the guys section if your a girl, and look in the girl section if your a guy. I can almost guarantee you can find some really interesting pieces.

Finding Accessories:
Thrift store accessories are great. A lot of times you find good staple pieces that are inexpensive and have a vintage look. Do not be afraid of large piles of chains and metal, dive in! Another accessory trick is to find strange pendents or trinkets of sorts and put them on chains. Such things could look really nice with a day dress or casual T-shirt and jeans look.


ADVANCED THRIFTING TIPS AND TRICKS
Special Discounts and Sales


"Bins":
"Bins" are a big collection of clothes, nicknacks, and random items all in a huge cluster. They're cheaper items, and all have the same price. These bins can look intimidating, but don't be scared! Dive in. A lot of times you can find some great odd pieces, and they're cheaper than regular items on the racks. 
Become a member:
Becoming a member or signing up for a loyalty card can also save you some money and gives you great benefits in the long run. They're usually free to sign up for. Most likely they'll give you a discount right away for signing up, but also gives you discounts for special sales or discounts for buying over a certain amount. Many times, stores like Goodwill have special sale days, such as student discount day (every Saturday), and Senior Discount Day. A lot of times too, they will send you emails also about upcoming sale events and special discounts to members.
Special Tag Sales:
Another benefit of becoming a member is special discount sales. In stores like Goodwill they will have days where different colored tags have different discounts. So everything with an orange tag is 15-30% off. By becoming a member, through email the store will let you know when these super sales are. Prepare yourself! Go early, because those grandmas will fight you for items! 
The Benefits of Donating or Selling:
Donating to stores or selling your clothing has several benefits. Stores like Plato's Closet or Buffalo Exchange allow you to sell your used clothes for cash. But beware, a lot of people don't make a huge amount of money and are usually disappointed for how much they make. If you just want to donate your clothes to stores such as Salvation Army and Goodwill gives you special tax benefits. Just ask for a receipt after you drop off your goods. Also, a lot of times stores give you store coupons or discounts that you can use in the store to buy more clothes. Not only can you clean out your clothes you don't want anymore, but you can buy new ones for cheaper!

Damaged Clothes
Once you find an item you like, study it closely. Look for damage, lose stitches, missing buttons, set in stains, etc. If the damage is beyond repair or too noticeable, its sometimes best to pass it up. BUT, if the damage is not too bad, or you can live with it, bring it up to the register or speak to a manager to get a discount on the item. In most cases, pointing out damage on items can get you at least a 10% discount. This applies to normal retail stores also. Its a great way to save a buck and also really look at what you're purchasing.

........................
And here's an outfit in which all the things are bought at a thrift store. I have really good luck with shoes. The coat I'm holding is a vintage military jacket I bought for $10! Nothing in the photo I purchased for more than that.  (Notice the price tags in the shoes...I've worn these before, but I keep the price tag in them.)

Have any other suggestions of how you like to thrift? Give me a comment and I'll add it to my guide! Or send me pictures of great things you find at a thrift store near you!

Thursday, November 18, 2010

Bleach Painting

Bleach painting is an inexpensive way for you to reinvent old t-shirts.
All you need is:
-Paint brushes
-Bleach
-Plastic bags
-Colored cotton t-shirt


First place plastic in-between the layers of the fabric, otherwise the bleach may bleed through to the other sides of the garment.

Then, Use the bleach like you would paint. I recommend using Splashless bleach, its a bit thicker than regular bleach, and would drip and spread as much, if you're looking for a clean line look.

An added technique is to have different ratios of water to bleach. By adding different amounts of water, you can different values of bleaching. You can have a more 3D effect that way. I suggest using scrap fabric to test the effects of bleach. I also suggest you layout the design first. The bleach is VERY permanent, so be careful!
                                                            
     Here's the back of dress I did where I used the same bleaching technique. 
There's a lot of different ideas you could do. I thinks stripes or flames would be a really cool effect. Or, just painting a really cool graphic would be a real exciting design.

Sunday, November 7, 2010

Wealth Does NOT Equal Style.

People since the beginning of society as we know it have placed social class with fashion. What you wear defines how much money you make and how much power you have. Well its time for that to change. No matter how much money you have, you still have a right to good style. It is quite funny when I see people decked out in all designer clothing, but look absolutely horrible! It just proves the fact, money doesn't make a person look good. Good TASTE makes a person look good.

We grow up envying rich celebrities that have closets full of clothes from top designers. But the truth is, almost no one will get to that socials status. Not everyone can be rich and famous. But who says we have to dress miserably just because we are not their social level? My saying has always been "the less money you have, the more creative you have to be." Meaning, if you can afford to buy designer ripped jeans, then go for it! But if you can't, then get creative! Use your intellect to figure out how to achieve that look. Ask yourself the question, "What SPECIFICALLY do I like about that item?" Is it style lines? The fit? The color? The embellishments? Then take those elements into mind and experiment! Cut, sew(if you can), tape, paint, glue your way to achieving the look. Of course it will take time, but hey, no one said poor people have it easy! Its easy to say "I can't afford that, so therefor I can't be fashionable." Well, screw that idea. What you should say is "I can't afford that, so I will figure out a way to make something that creates the same look." Do not put limitations of your style. Anyone can be fashionable with a little elbow grease!